by Philip Fry
It is difficult for most of us to know what to do about the loss of biodiversity taking place right under our noses – except to vote wisely in upcoming elections. But there are indeed small solutions that we can adopt to help in a modest way to alleviate the problem locally. One of them is to create a small pocket-sized native plant garden.
To begin, select an appropriate place in your yard, then examine its potential with regard to the current state of the soil and the site’s exposure to sunlight. These will suggest what the next steps to take.For now, I will concentrate the soil.
You can get a good idea of what your soil is like even without specialized equipment. When your site is moist, dig a soil sample using a straight-edged spade. Make a thin rectangular shape with vertical cuts. Lift out the cube of soil carefully, trying not to let it break up. Ease it onto a flat surface. This shows the soil profile, the stratified layers of organic and geological materials called “soil horizons.” If the soil has not been disturbed for a long time, the horizons from the top down are: “O” for the layer of organic humus at the surface; “A” for mixed organic/mineral materials; “B,” usually in the middle of the sequence, into which some organic materials have penetrated into the mineral materials by leaching, insects, and animal activity; and “C” the layer of parent geological materials. Learning about the history of local soil formation, for example the wash-out of sand, silt, and clay from glaciers at the end of the ice age, helps to interpret what you will find when examining your sample. In our townships, the soil profile developed over the last 10,000 years has been has been seriously disturbed by settlement activity – mainly deforestation, cultivation, and human habitat building.
Here is what you want to look for in your soil sample. First, the presence of humus (decayed organic materials) which is vital to the health of the soil. Soils that have been disturbed over a long period have lost much of their humus layer. Sometimes there is a layer of organic litter above the A horizon which we often remove in “clean up” activity. We shouldn’t, because the contact zone this litter creates with the A layer is where a lot of soil building activity takes place. It is where the initial decomposition and recycling of organic material begins with the help of billions of microorganisms (bacteria, fungi, protozoa) and insects. It also conserves moisture, moderates soil temperature, and helps ward off erosion.
Next, you might want to examine the main non-organic components in the B and/or C horizons or the mixture of these horizons produced by disturbance. Texture (rub a bit of soil between your fingers) gives a clue to the presence of sand, silt, or clay, each of which has different properties – mainly the presence of chemical/mineral nutrients and their effect on water retention and drainage. The visible difference between these granular components is their size and shape – sand being the largest, and clay the smallest. Grains of sand are “chunkier” in shape than clay and their chemical nutrients are less available; water moves easily between the grains’ irregularly piled edges. Clay particles are flatter, and overlap, creating a tightly packed volume that is difficult for water to penetrate.
Once you know the soil you are dealing with, dig the whole site at least eight inches down to begin soil amendment if necessary. What you want to do is accelerate the natural layering of the soil by mixing in compost material and humus to create a rich “A” layer. Once you have amended the soil and filled the hole back up to level, you will never need to turn it over again. Instead, you will want to build up the surface with the use of mulches.
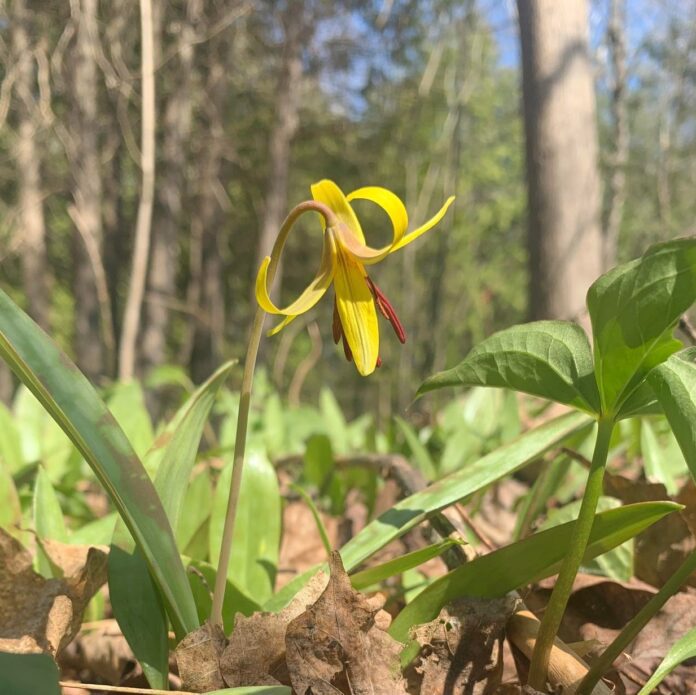
The reason for no longer turning the A to B layers is that it disturbs the natural processes taking place. Take, for example, the Trout lily. When a seed falls into the litter and eventually contacts the A layer, it germinates and makes a small bulb which pulls itself down in the soil. The next year, it produces about four more bulbs that pull themselves deeper. Then, during the following years, each bulb produces four more. By the seventh year, a community of bulbs has been created, some eight inches or more below the surface, and then – a single flower appears!
Next time, I will discuss mulches. If you wish, contact me at wildflowerguy@gmail.com.


